
Understanding Spray Foam Removal
What is Spray Foam?
Spray foam insulation is a popular choice for sealing homes due to its excellent thermal insulation properties and ability to fill gaps and cracks. Composed of two main components—polyurethane and isocyanate—spray foam expands upon application, providing an airtight seal that enhances energy efficiency. This feature makes it an ideal solution for attics, walls, and crawl spaces, effectively reducing heating and cooling costs.
Common Reasons for Removal
There are several reasons why homeowners might consider removing spray foam insulation:
- Water Damage: Exposure to moisture can lead to mold growth, which necessitates foam removal.
- Improper Installation: If foam is applied incorrectly, it can trap humidity and lead to structural concerns.
- Health Concerns: Some people may experience allergies or respiratory issues related to volatile organic compounds (VOCs) released over time.
- Renovation Needs: Major renovations may require the removal of existing insulation to accommodate new building materials.
- Adaptive Use: A change in property use might mean different insulation requirements.
Health and Safety Considerations
When dealing with spray foam, it’s crucial to consider health and safety risks. The chemicals in spray foam contain isocyanates that can be hazardous if inhaled. Proper ventilation is necessary during the removal process, and excessive skin contact should be avoided. Familiarizing yourself with safety protocols and wearing appropriate gear is essential for anyone involved in spray foam removal.
Preparing for Spray Foam Removal
Tools and Equipment Needed
Before starting the removal process, gather the following tools and equipment:
- Protective goggles and gloves
- Respirator mask
- Utility knife or foam cutter
- Heat gun or scraper
- Removal chemicals (specific to foam types)
- Trash bags or bins for disposal
Assessing the Area
Before removing spray foam, it’s vital to assess the area properly. Check for potential hazards such as electrical wires or plumbing that could be affected by removal efforts. Assessing the overall integrity of structures around the foam ensures safe removal practices and averts further complications during the job.
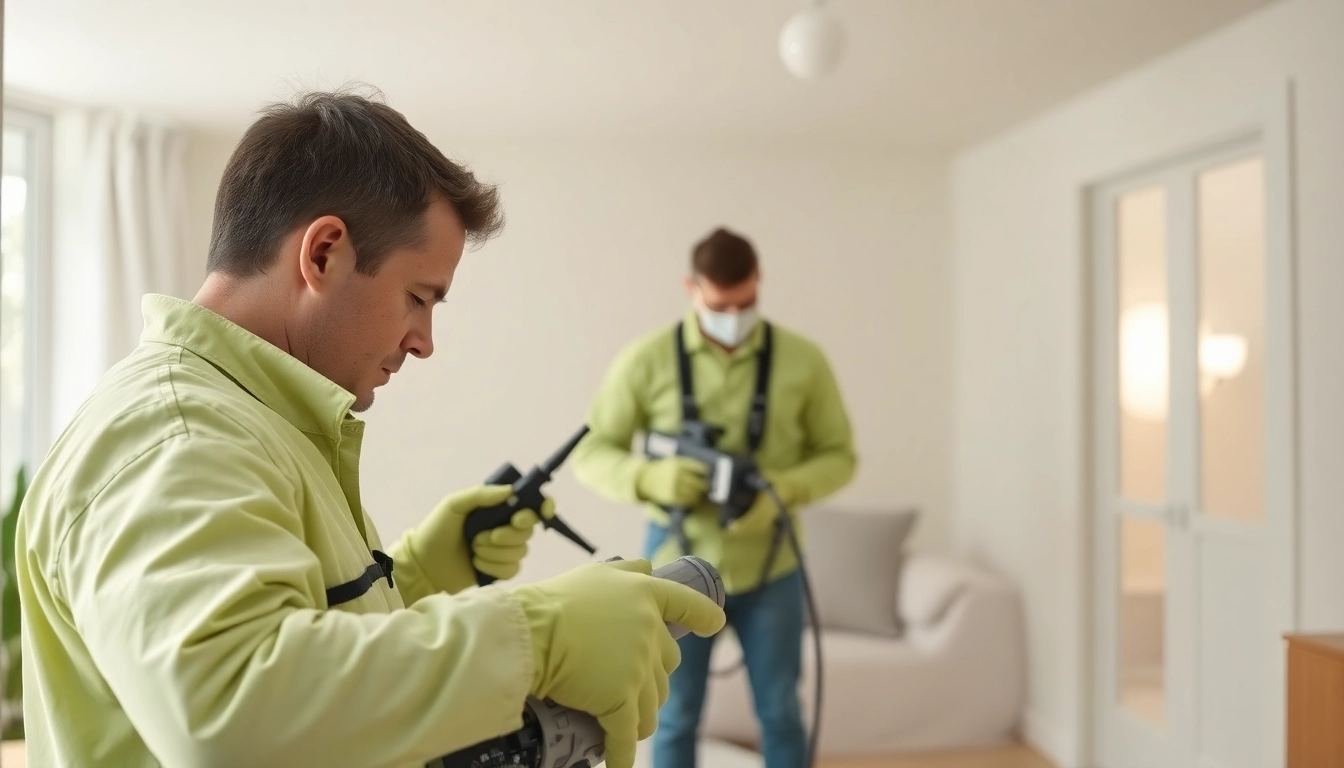
Safety Gear Requirements
Proper safety gear is indispensable in the removal process. Ensure you wear:
- A respirator mask to prevent inhalation of harmful chemicals.
- Goggles to protect eyes from debris and chemicals.
- Long-sleeve clothing and gloves to minimize skin exposure to chemicals.
Step-by-Step Guide to Spray Foam Removal
Initial Step: Protective Measures
Before starting the removal, implement protective measures. Ensure the work area is well-ventilated by opening windows and doors, and use fans if necessary. Make sure that anyone not involved in the removal is kept at a safe distance from the area to reduce the risk of exposure to airborne particles or chemicals.
Applying Removal Chemicals
Next, if applicable, apply removal chemicals designed for spray foam insulation. Follow the manufacturer’s instructions carefully. Typically, these chemicals will help break down the foam, making it less dense and easier to remove. Allow adequate time for the chemicals to work before beginning mechanical removal methods.
Mechanical Removal Techniques
For mechanical removal, employ tools like utility knives to cut through the foam. It’s often effective to use a combination of scraping and prying to detach the foam from surfaces. Be mindful of the underlying material and avoid excessive force to prevent damage to any structures beneath.
Post-Removal Procedures
Disposal of Removed Foam
Disposing of removed spray foam must be done responsibly, following local regulations. While some types of foam can be disposed of with regular waste, others may require specific disposal procedures. Check with local waste management providers for proper guidelines on disposing of hazardous materials.
Cleaning the Area
After removal, thoroughly clean the area to remove particles and residues. Use a vacuum cleaner designed for construction debris and wipe down surfaces with a damp cloth. Ensuring cleanliness will help prevent future health issues and prepare the space for insulation or other renovations.
Ensuring Structural Integrity
Post-removal, assess the structural integrity of the area. Check for any damage that might have occurred during foam installation or removal. Repairs may be necessary to ensure the space adheres to safety standards, as structural weaknesses can lead to further complications down the line.
Frequently Asked Questions
What are the risks of DIY foam removal?
DIY foam removal can expose individuals to hazardous chemicals and dust without proper protective gear and knowledge. Risks include respiratory issues, skin irritation, and damage to surrounding structures if not conducted carefully.
How long does the removal process take?
The removal process duration varies depending on the amount of foam and the method used. Typically, it can take anywhere from a few hours to a couple of days for complete removal and cleaning.
Can I reuse the space immediately?
It’s usually advisable to wait at least 24-48 hours after removal before reusing the space, allowing adequate time for any residual chemicals to dissipate and the area to be thoroughly cleaned.
What type of foam is easiest to remove?
Open-cell spray foam is generally easier to remove than closed-cell foam, primarily due to its softer texture, which makes mechanical removal simpler. However, all types require careful handling.
Should I hire professionals for foam removal?
Hiring professionals is recommended, especially for large or complex removals, as they possess the expertise, tools, and safety measures necessary to perform the task efficiently and safely.
For comprehensive spray foam removal guidance, always consider contacting experts who understand local laws and safety regulations regarding foam insulation materials.
